Everything You Need to Know About Electromagnetic Waves
How does the world look to a bee? What exactly is different among different colors of light? We’ll consider these questions and more in this edition of Everything You Need to Know About…
Have you used a microwave today? Listened to the radio? Did the dentist take an x-ray at your last visit? The oxygen you’re consuming as you consider these questions — along with nearly everything you’ve ever eaten — is a product of plants’ ability to capture the energy in visible light. Microwaves, radio waves, x-rays, and all kinds of light fall on the electromagnetic spectrum. Today we’ll explore key physical properties of electromagnetic waves, an essential and omnipresent part of the world as we experience it.
Theory
Almost all the energy on our home planet ultimately comes from the sun by way of electromagnetic waves (radioactive decays in the Earth’s crust also contribute some energy). Electromagnetic waves, like all waves, carry energy (see Everything You Need to Know About Oscillations & Waves); plants and photosynthetic algae make their way in the world by capturing a vanishingly small fraction of this energy as chemical energy. This process makes life as we know it possible. And electromagnetic waves shape modern life in many, many smaller-scale (but more immediate) ways: your cell phone, your wifi connection, your microwave, and medical imaging techniques such as x-ray and MRI are all brought to you courtesy of electromagnetic waves. It’s clear that understanding electromagnetic waves will help us understand how our world works, but what, exactly, are they? Let’s consider this question.
An electromagnetic wave is a traveling wave composed of oscillating electric and magnetic fields. The changing magnetic field induces an electric field (see Everything You Need to Know About Magnetism), which in turn induces a magnetic field as it changes, which induces an electric field… and so on ad infinitum until the wave is absorbed or the energy it carries is otherwise transformed. Here’s why that’s important: It means that an electromagnetic wave can propagate in a vacuum, no medium necessary. It means electromagnetic waves can traverse the great expanse of nothingness between the sun and the earth. They do this rather quickly: Light waves, and indeed all electromagnetic waves, travel in a vacuum at (unsurprisingly) the speed of light, about 3×10⁸ m/s (roughly 186,000 miles per second!).
All electromagnetic waves travel at the same speed in a vacuum, but they differ widely in wavelength (λ), and therefore frequency ( f ), since the velocity of a wave is equal to the product of its wavelength and its frequency (see Everything You Need to Know About Oscillations & Waves for a fuller discussion of these concepts). We’ll discuss things primarily in terms of λs here. At the long-λ end of the electromagnetic spectrum we find radio waves (λ on the order of meters or more), microwaves (λ on the order of centimeters to millimeters), thermal radiation (λ on the order of tens of thousands of nanometers), and infrared light (λ on the order of many hundreds of to thousands of nanometers). These species of electromagnetic waves behave much as we’d expect “normal” waves to.
At the short-λ end of the spectrum lie the ultraviolet light (λ on the order of a couple tens of to a couple hundred nanometers), the x-rays (λ on the order of a few nanometers to a few hundredths of a nanometer), and the gamma rays (λ on the order of hundredths of nanometers or less). Interestingly, these waves in fact have more particle-y than wave-y characteristics. We describe them using the photon model — we treat short-wavelength electromagnetic waves as a collection of discrete packets of energy (photons). Modeling electromagnetic waves in this quantum way (each photon of a particular wavelength has a particular amount — a quantum — of energy) has very interesting and practical applications, some of which we’ll explore in subsequent sections. We should consider here, though, that this is why the short-λ electromagnetic waves tend to have a rather worse reputation than those at the longer end of the spectrum. X-rays pose a much greater threat to your general wellbeing than radio waves because any given x-ray photon has much greater energy (great enough, in fact, to break bonds in DNA) than any given radio wave photon. However, the effects of any electromagnetic wave depend to some extent on its intensity — the amount of power it delivers per unit area (i.e., how much energy the wave transfers to a given area in a given amount of time).
You may have noticed a rather significant omission in the litany of waves thus far considered: visible light. The visible light spectrum, composed of electromagnetic waves with λs between 400nm and 750nm, falls right in between the two divisions described above. As we’ll see in subsequent sections, visible light can be described equally well as a wave or a collection of photons. (Note that all electromagnetic waves can be described using both the wave model and the photon model; it’s just that the wave model is generally a better fit at longer λs and the photon model is generally a better fit at shorter λs.) For instance, as light waves pass through your pupil — a circular aperture — they interfere with one another, producing a diffraction pattern on the back of your eye. This is a clear example of visible light acting as a wave. However, your perception of light depends on the photon nature of those very same waves. A single photon of light interacts with a single rod or cone cell in your retina; the energy required to trigger a reaction in one of these light-sensing cells is tuned to the photon energy of light in the visible range (or, in the case of cone cells, a particular portion of the visible range).
Application
Now, let’s talk about how to help students develop an understanding of the physical characteristics and effects of electromagnetic waves. Below is a collection of videos about electromagnetic waves. We’ve organized the videos in terms of “the 5 E’s”: Engage, Explore, Explain, Extend, and Evaluate. This structure has worked well for us in teacher workshops, and we hope it works well for you too! However, we always welcome your feedback. Please contact us anytime to let us know what’s working, what’s not, and how we can make this resource more useful for you. Enjoy!
Engage
The purpose of the Engage segment is to pique students’ interest. We don’t need to directly transmit concepts at this stage, merely give students a chance to think and get excited about the topic we’ll be discussing.
Video 1: Polarization of the Sky
To get things off the ground, a surprising practical application of the wave nature of light. Polarization refers to the direction in which the electric field of an electromagnetic wave oscillates. The electric field can oscillate in any plane — horizontal, vertical or anything in between. (The magnetic field is always perpendicular to it, and both fields are perpendicular to the overall direction of travel of the wave — for example, the electric field of a wave traveling along the x-axis might oscillate along the y-axis; its magnetic field would therefore oscillate along the z-axis). In non-polarized light, such as that from a typical light bulb, electric fields go every which way. However, all the electric fields in polarized oscillate in the same plane. The light in the sky, for reasons that aren’t quite clear, is polarized along lines that are perpendicular to lines that point to the sun; bees can sense this polarization and use it to find their way around. We humans can see polarization using polarizers, materials that only let electric fields oscillating along a certain axis pass through; light with electric fields that do not oscillate along the polarizer axis is blocked. Each of a bee’s eyes contains a “wheel” of polarizers much like the one we made for this video. (Side note: Bees can also see ultraviolet light, and many flowers have markings that are visible only in the UV — invisible to our eyes, but quite obvious “nectar guides” to bees!)
Video 2: I’m Looking Through You
In this video we’ve used a camera lens that blocks visible light but transmits near-infrared to quite literally see the world in a different light! The near-IR is just past the red end of the visible spectrum, but things look very different in the near-IR than they do in red light. (In case you were wondering: “far-IR” does exist, but electromagnetic waves that fall in the far-IR range of wavelengths are more meaningfully described as “thermal radiation.”) For instance, everyone’s skin is transparent to near-IR light, but our blood is not. Near-IR photons are not energetic enough to interact with most pigments, so many items that appear to be quite different colors in visible light are quite indistinguishable in the near-IR.
Video 3: Flashy Grape
We continue our journey down the electromagnetic spectrum with a video about microwaves. Specifically, about what happens when you put a grape in the microwave. If you cut a grape almost completely in half, leaving just a thin segment of skin connecting the two halves, you create a near-perfect dipole antenna for the electromagnetic waves generated inside a typical microwave oven (λ ≈ 12cm; each half of the grape is ~3cm wide — about a quarter of λ, which is ideal for an antenna). An antenna, broadly speaking, is a conductor in which oscillating charges produce an electromagnetic wave, or which “picks up” electromagnetic waves as they cause charges to oscillate. The electric field of these waves pushes on charges inside the grape; since the grape is a conductor, this results in a potential difference across the grape, and thus a current through it (see Everything You Need to Know About Electricity). The region of very thin skin acts as a resistor. The energy in the current is sufficient to ionize atoms in this resistor, resulting in an impressive flurry of flashes and sparks!
Explore
In the explore segment, students get to experience firsthand the principles we hope to teach them. We still don’t need to explicitly describe any concepts yet — the students will start working these out as they explore.
Video 1: You are the Antenna
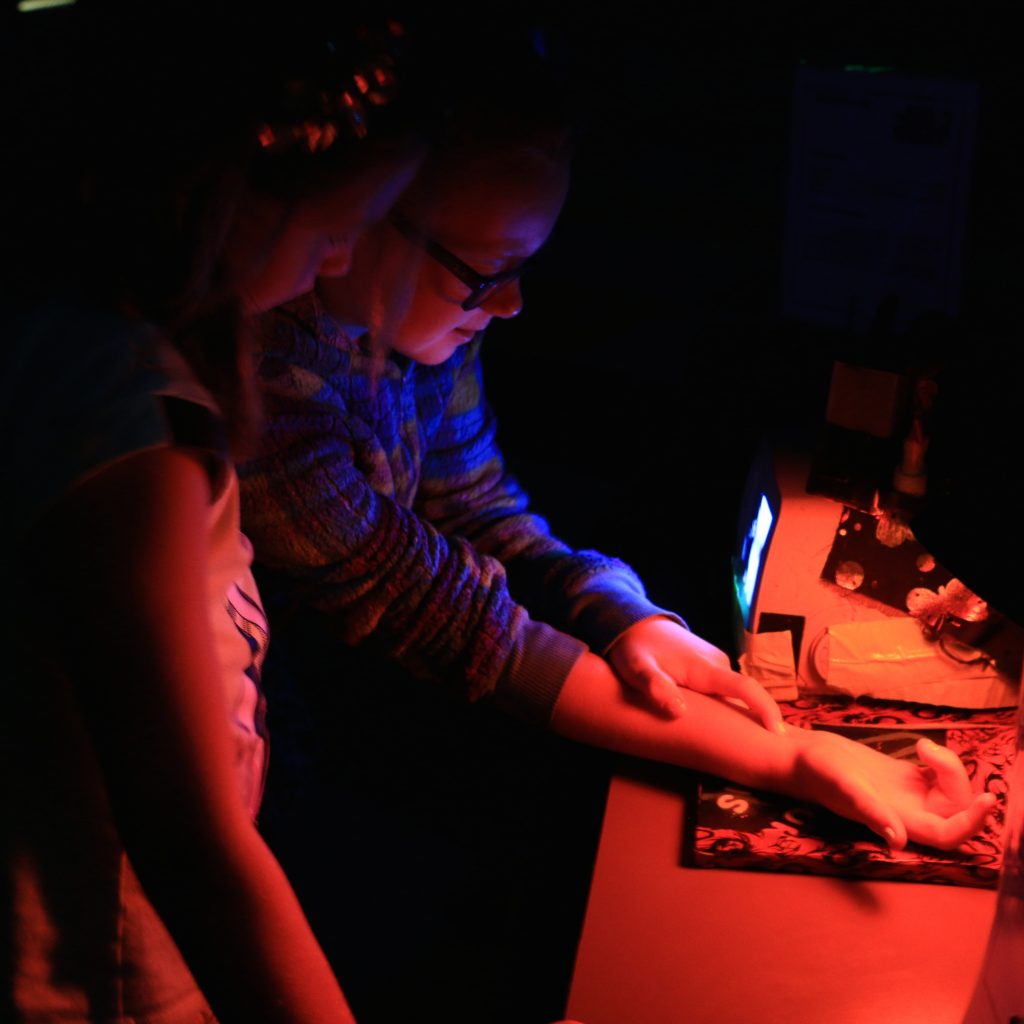
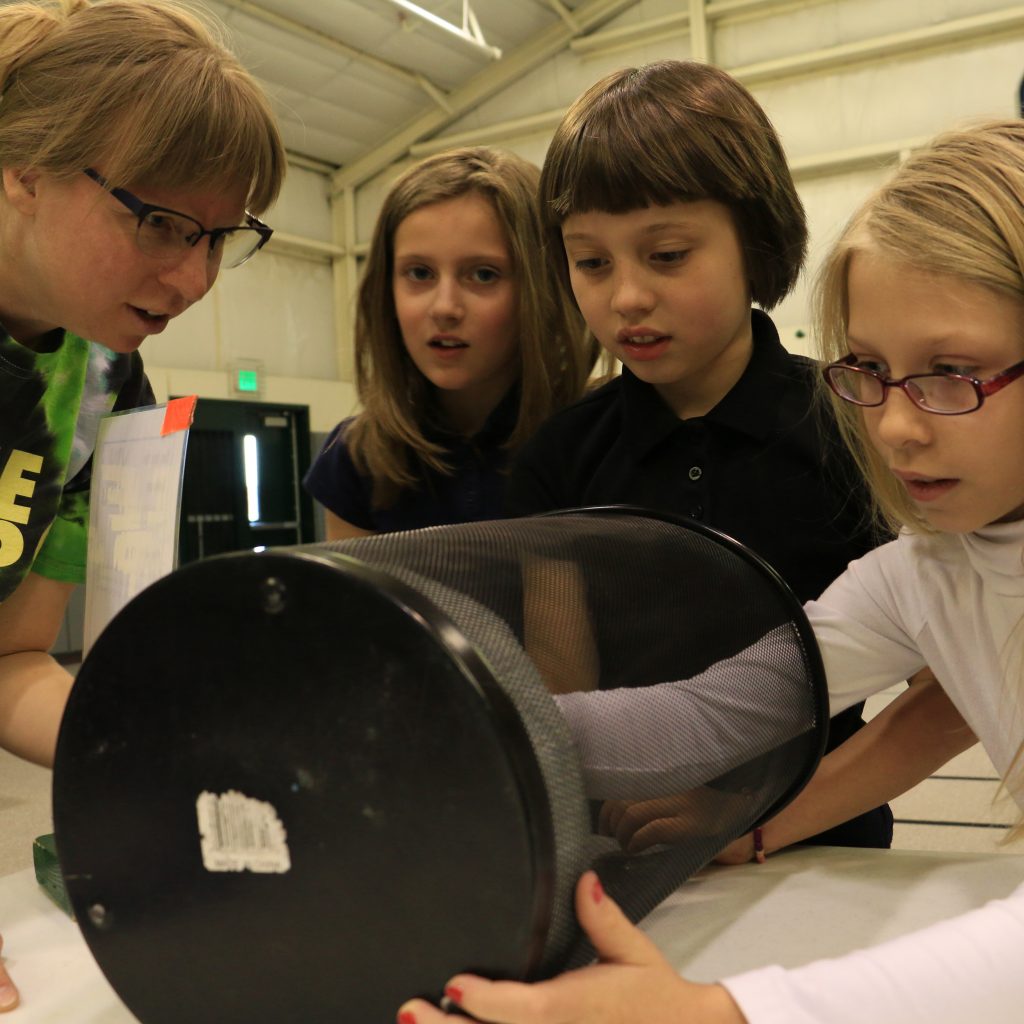
Let’s take a look at another unconventional antenna, this time for radio waves. Much like grapes, human beings are composed largely of electrolyte-rich fluids. This means that the electric field of an electromagnetic wave of a certain wavelength can produce potential differences in our bodies (not to worry: they’re much smaller than those in the grape — this experiment is completely safe!). These varying potential differences — and the varying electric fields they produce — contain the same information as the original radio wave. This means that you are a rather effective species of antenna called a repeater for FM radio waves: You absorb radio waves incident on you, then broadcast radio waves carrying identical information. We can explore this phenomenon experimentally as follows: First, remove the antenna from a handheld radio receiver, and cover the area where the antenna was with conductive aluminum foil tape. Now, tune the receiver to a frequency you get decent reception at (as you might expect, reception won’t be stellar without an antenna). Once you’ve found a station, place the receiver inside some sort of conducting shell that encloses it on three sides (you want the fourth open so you can reach your hand in) — we find that a metal mesh wastebasket works well. You’ll find that it’s now impossible to pick up any radio station — you’ve placed the receiver inside a Faraday cage. When an electric field encounters a conducting shell (a Faraday cage), the field pushes on charges in the conductor. The key outcome of the resultant separation of charges is an electric field which opposes the incident field; the electric field inside a Faraday cage is thus zero. If the electric field inside our trash can is zero, that means there can’t be any radio waves inside it, and thus nothing for the radio receiver to receive. [You might be wondering about the holes in the metal mesh — these are so much smaller than the wavelength of radio waves (λ ≈ 3m for FM radio waves) that they don’t reduce the efficacy of the cage for our purposes.] However, if you reach your hand inside the cage, you introduce radio waves into its interior (recall that you’re a pretty good repeater for radio waves). The receiver can pick up these waves, and translate the information they contain into sound!
Video 2: Flashy Photon Radio
We saw in the video above that it’s possible (and indeed rather commonplace) to transmit information about sound using radio waves. Shouldn’t we be able to do the same with other electromagnetic waves? Indeed we can! In this experiment we transmit information about sound using visible light; it’s easier to do than you might think. We connected (via audio cable) an MP3 player loaded up with music to an amplifier. We then clipped speaker wire into the (+) and (-) connections of the amp, and soldered the other end of each strand to the corresponding battery contact in a small flashlight. Instead of connecting the amplifier to a device that will convert the electrical signals it amplifies from the MP3 player to sound, we’ve simply connected it to one that will produce light instead. But our end goal is still to produce sound, so let’s think about what to do with that light. A speaker, as we noted, turns electrical signals into sound. So if we can convert light to electricity, we’ll be good to go — this looks like a job for a solar panel. We soldered the leads of a small solar panel to an aux cable and plugged the cable into a small amplified speaker. Now as the MP3 player sends electrical signals containing information about a song the the amp, the amp drives the flashlight, producing light that contains the same information about the song. The solar panel converts the light back to electricity, still carrying the same information, and the amplified speaker converts this signal to sound!
Video 3: Crystal Clear
We’ve found our way back to polarization — but this time, there’s a twist. We said earlier that the speed of light is 3×10⁸ m/s. This is true of light traveling in a vacuum, but just as walking into a tree will slow you down, running into a whole mess of atoms will slow light down. We ascribe to materials a quantity called index of refraction (n), which describes how much they slow light down: n = c÷v, where c is the speed of light in a vacuum and v is the speed of light in the material. Materials with higher ns cause incident rays of light to slow down, and bend relative to their original trajectory, more than those with lower ns do. In a handful of materials, n varies with the plane of polarization of the incident light; we say that these materials exhibit birefringence. One relatively easily obtained birefringent material: calcite. A decent-sized calcite crystal placed over a picture and illuminated with non-polarized light will produce a double image of the picture, since light polarized in different planes is bent to different degrees. It’s possible to resolve the double image to a single clear one by putting on a pair of polarized sunglasses — this prevents rays of light that aren’t polarized along the polarizer axis from reaching your eyes, leaving just one image visible to you!
Video 4: Writing with Light
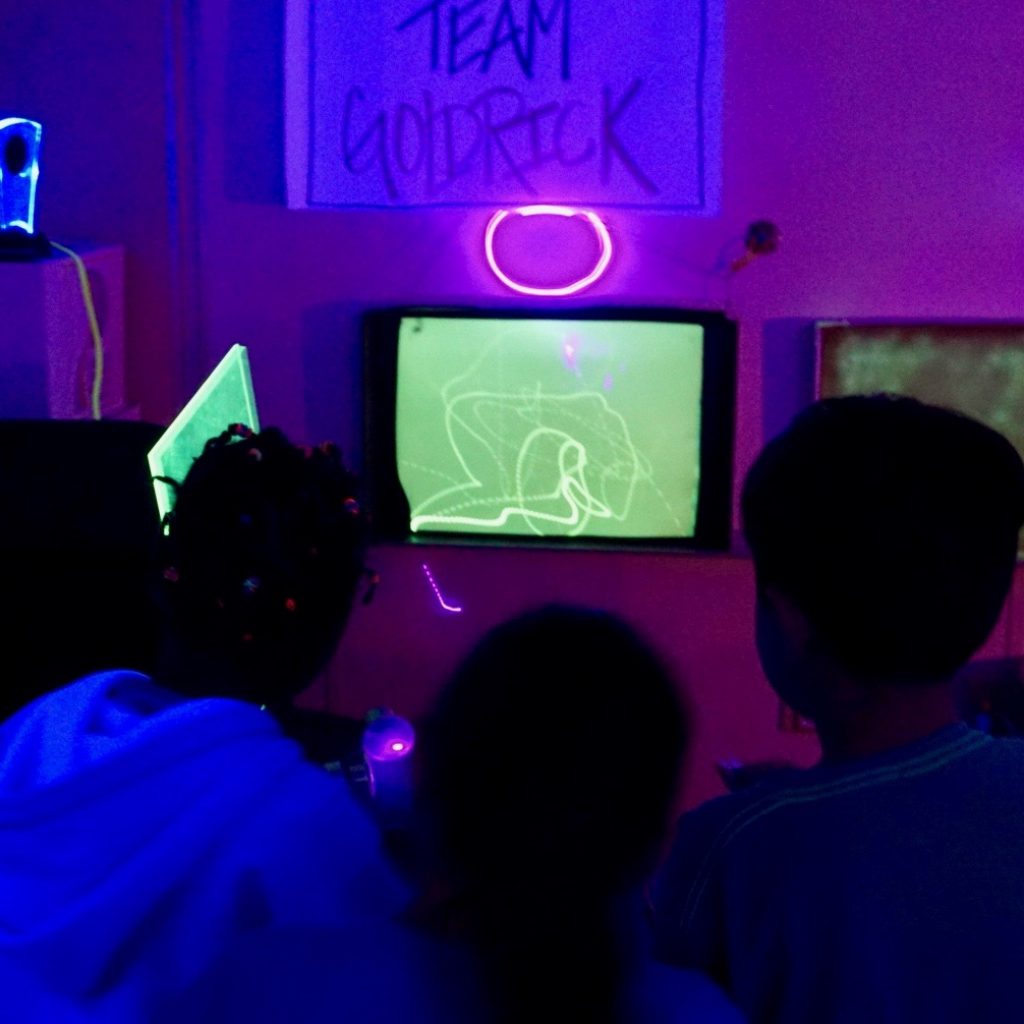
The last two videos considered primarily the wave nature of visible light. It’s time now to think about the photon model. We can find the energy of any photon from the photon’s wavelength or frequency. There are two basic relationships for accomplishing this, related through c = λ·f (a version of the basic wave equation, v = λ·f, modified for electromagnetic waves, which travel at the speed of light in a vacuum, c): E = hf and E = (hc)÷λ. Thus, the energy of a photon is directly proportional to its frequency and inversely proportional to its wavelength. We’ve found that students can quickly get a feel for what’s different about different colors of light working with phosphorescent paper and several colors of LEDs. Phosphorescent (“glow-in-the-dark”) paper contains molecules that can absorb certain quanta of energy — i.e., photons of certain wavelengths — and, when they do so, eventually re-emit the energy as a photon with a longer wavelength (lower energy) than the incident photon (some of the initial input of energy is dissipated in thermal processes). At a molecular scale, what’s happening is all about the electron energy levels we talk about in chemistry. To say a photon has been absorbed is to say its energy was transferred to an electron, bumping the electron up to a higher energy level; we say the electron is excited. The electron would quite like to go back to its happy place, its ground state — this would be the most stable arrangement — but to do so it must release some energy. As the electron falls back down to its initial energy level, the excess energy is emitted in the form of (you guessed it) a photon. To make any of this happen, the incident photon must be sufficiently energetic to get an electron all the way up to a higher energy level. Photons of blue, and particularly of purple, light are a good match for the electrons in the phosphorescent paper; blue and purple LEDs will leave glowing trails. Red light? Not so much. A photon of red light doesn’t pack enough energy to get an electron in the paper excited. If red light has a lower photon energy than blue or purple light, it must also have a longer wavelength and a smaller frequency. Indeed, these factors are what differentiate all colors of light from one another.
Explain
Now it’s time to codify and formalize the students’ observations. The following videos can help you elucidate and demonstrate the basic concepts underlying the discoveries students made as they explored.
Video 1: Light and Color Part 3
This excerpt from the Light and Color episode of the EveryDay Science show is a brief exploration of some of the wave properties of light. We work with a diffraction grating (all about constructive and destructive interference!) to explore the wavelengths of different colors of light.
Video 2: Light and Color Part 15
A variation on the Writing With Light activity we looked at in the Explore section, this one with glow-in-the dark (phosphorescent) basketballs and red, green, and violet lasers. We use it to give a brief introduction to the photon model of light, and make a connection between photon energy and light color.
Extend
Once the basic principles are clear, we want to encourage students to expand their thinking and ask questions that go beyond the scope of what we’ve already discussed.
Video 1: Light and Color Part 5
We know that the wave nature of light allows it to undergo constructive and destructive interference, like any wave. In this video we’ll think a bit about thin-film interference, in which reflection off the boundaries at each edge of a thin film cause light to constructively and destructively interfere at certain wavelengths. Here we focus on the appearance of a mallard’s head — the variably green, blue, or purple coloration comes from thin-film interference caused by layers of melanin and keratin in the feathers. However, you’re likely familiar with other examples of thin-film interference — the colors on a soap bubble or oil slick, iridescent mother-of-pearl, even the antireflection coating that’s present on most eyeglasses are all about thin-film interference.
Video 2: The Greenhouse Effect
In the Engage section we saw a video taken in the near-IR instead of in the visible light. Now let’s take a look at some footage taken in the thermal region of the electromagnetic spectrum to answer a very important and timely question: What is a greenhouse gas? A greenhouse gas is one whose constituent molecules, due to their unequal intramolecular sharing of charges, interact with thermal radiation. (A brief refresher here: Some atoms “want” electrons more than others — we say that these “needy” atoms are more electronegative. If a more-electronegative atom is covalently bonded to a less-electronegative atom, the bonding electrons will spend more time closer to the more-electronegative atom. We say that the more-electronegative atom has a partial negative charge, the less-electronegative atom, a partial positive charge. Examples of molecules with this sort of bonding arrangement include water vapor and carbon dioxide — both of which are greenhouse gases.) The electric field of thermal radiation pushes on the partially-charged atoms within each greenhouse gas molecule, causing the molecule to twist or bend or vibrate, and thus increasing its energy. The molecule has absorbed the energy carried by the thermal radiation, but it would be favorable for the molecule to return to its energetic ground state. When it does so, it emits thermal radiation. This is the basic physical reason: 1) that we can see greenhouse gases, but not gases whose molecules share charges equally (such as diatomic nitrogen and oxygen) on the thermal camera, 2) that the earth is warm enough to support life as we know it, and 3) that greenhouse gases are part of the climate change conversation. Energy from the sun is carried by electromagnetic waves primarily in the visible spectrum (but with a mix of IR and UV) to the earth. The earth absorbs this energy, then emits it as thermal radiation. If this outgoing radiation is absorbed by a greenhouse gas molecule in the atmosphere, the direction in which the molecule re-emits it is random. Even though the earth’s overall energy budget is more or less balanced (about the same amount of energy is radiated to space as is incident from the sun), more greenhouse gas molecules in the atmosphere mean a greater rate of thermal energy transfer back to the earth and among various layers of the atmosphere. This has big implications for global climate.
Video 3: Light and Color Part 16
And now we’re back where we started. There’s energy in light, and most plants’ modus operandi is capturing it and converting it to chemical energy. With the advent of solar energy technology, humans can now capture light energy as well, and convert it into electrical energy.
Evaluate
It’s important to figure out what students understand after the first four E’s. Tests and quizzes are one option, but there are many others.
This one is up to you — what works best for you and your students? We, for example, have had good results with turning the tables and letting the students make a video at this stage. We’d love to hear what works in your classroom!


